For skim coat plastering, it is essential that your home is done right.
Skim coating is great for covering up rough spots in your walls and it’s a great way to prepare for a wallpapering job or before painting. Are you sick of your outdated popcorn ceilings? Skim coating is a great way to take care of that too.
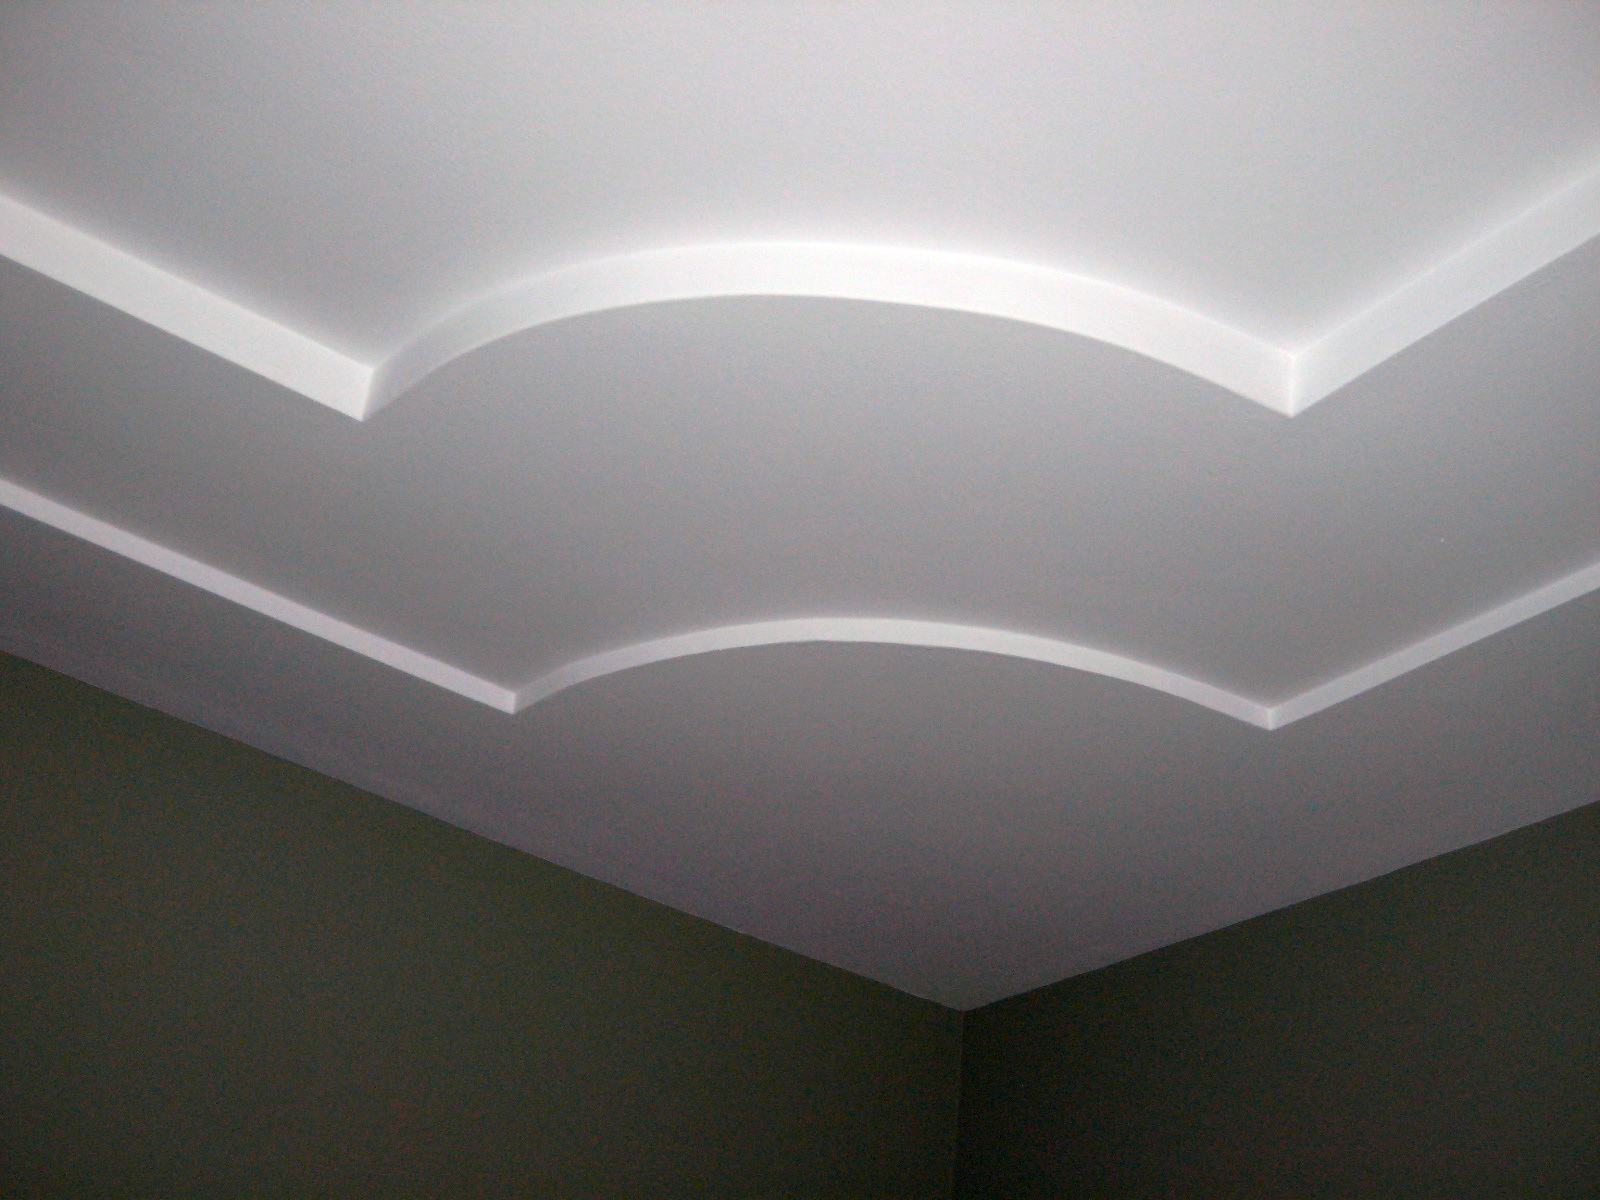
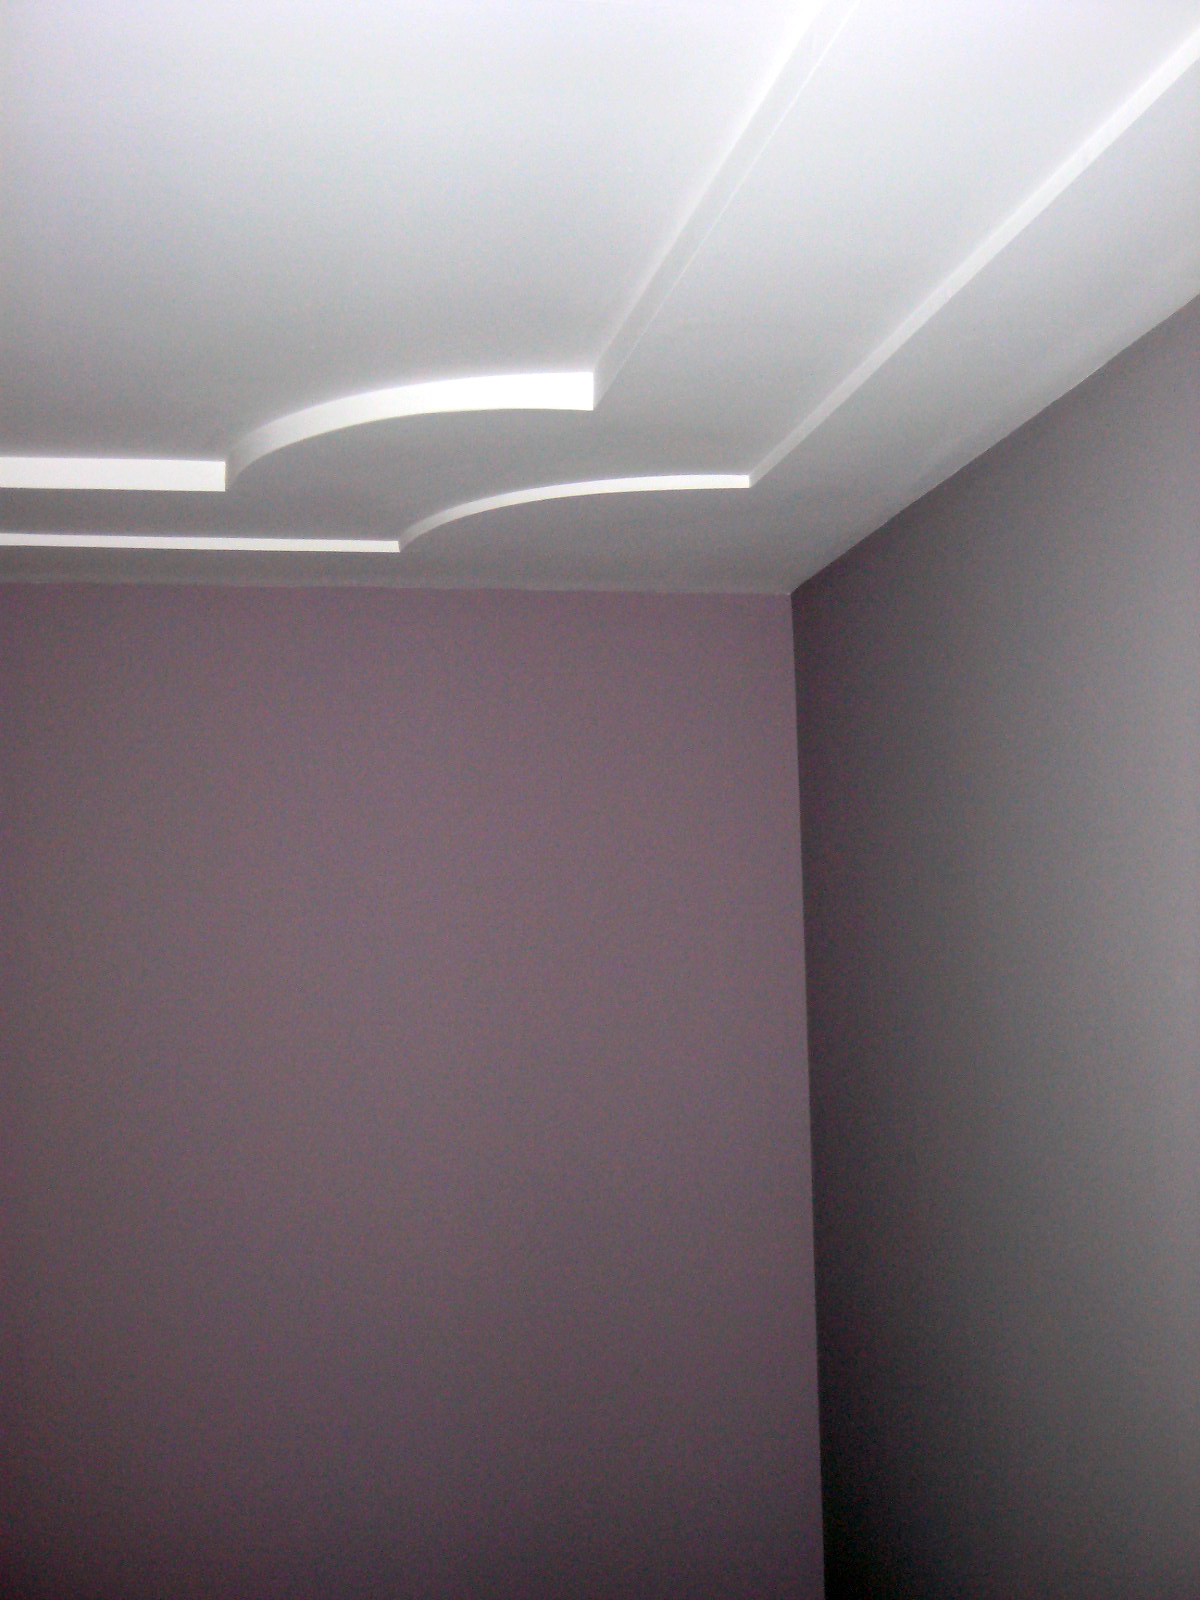
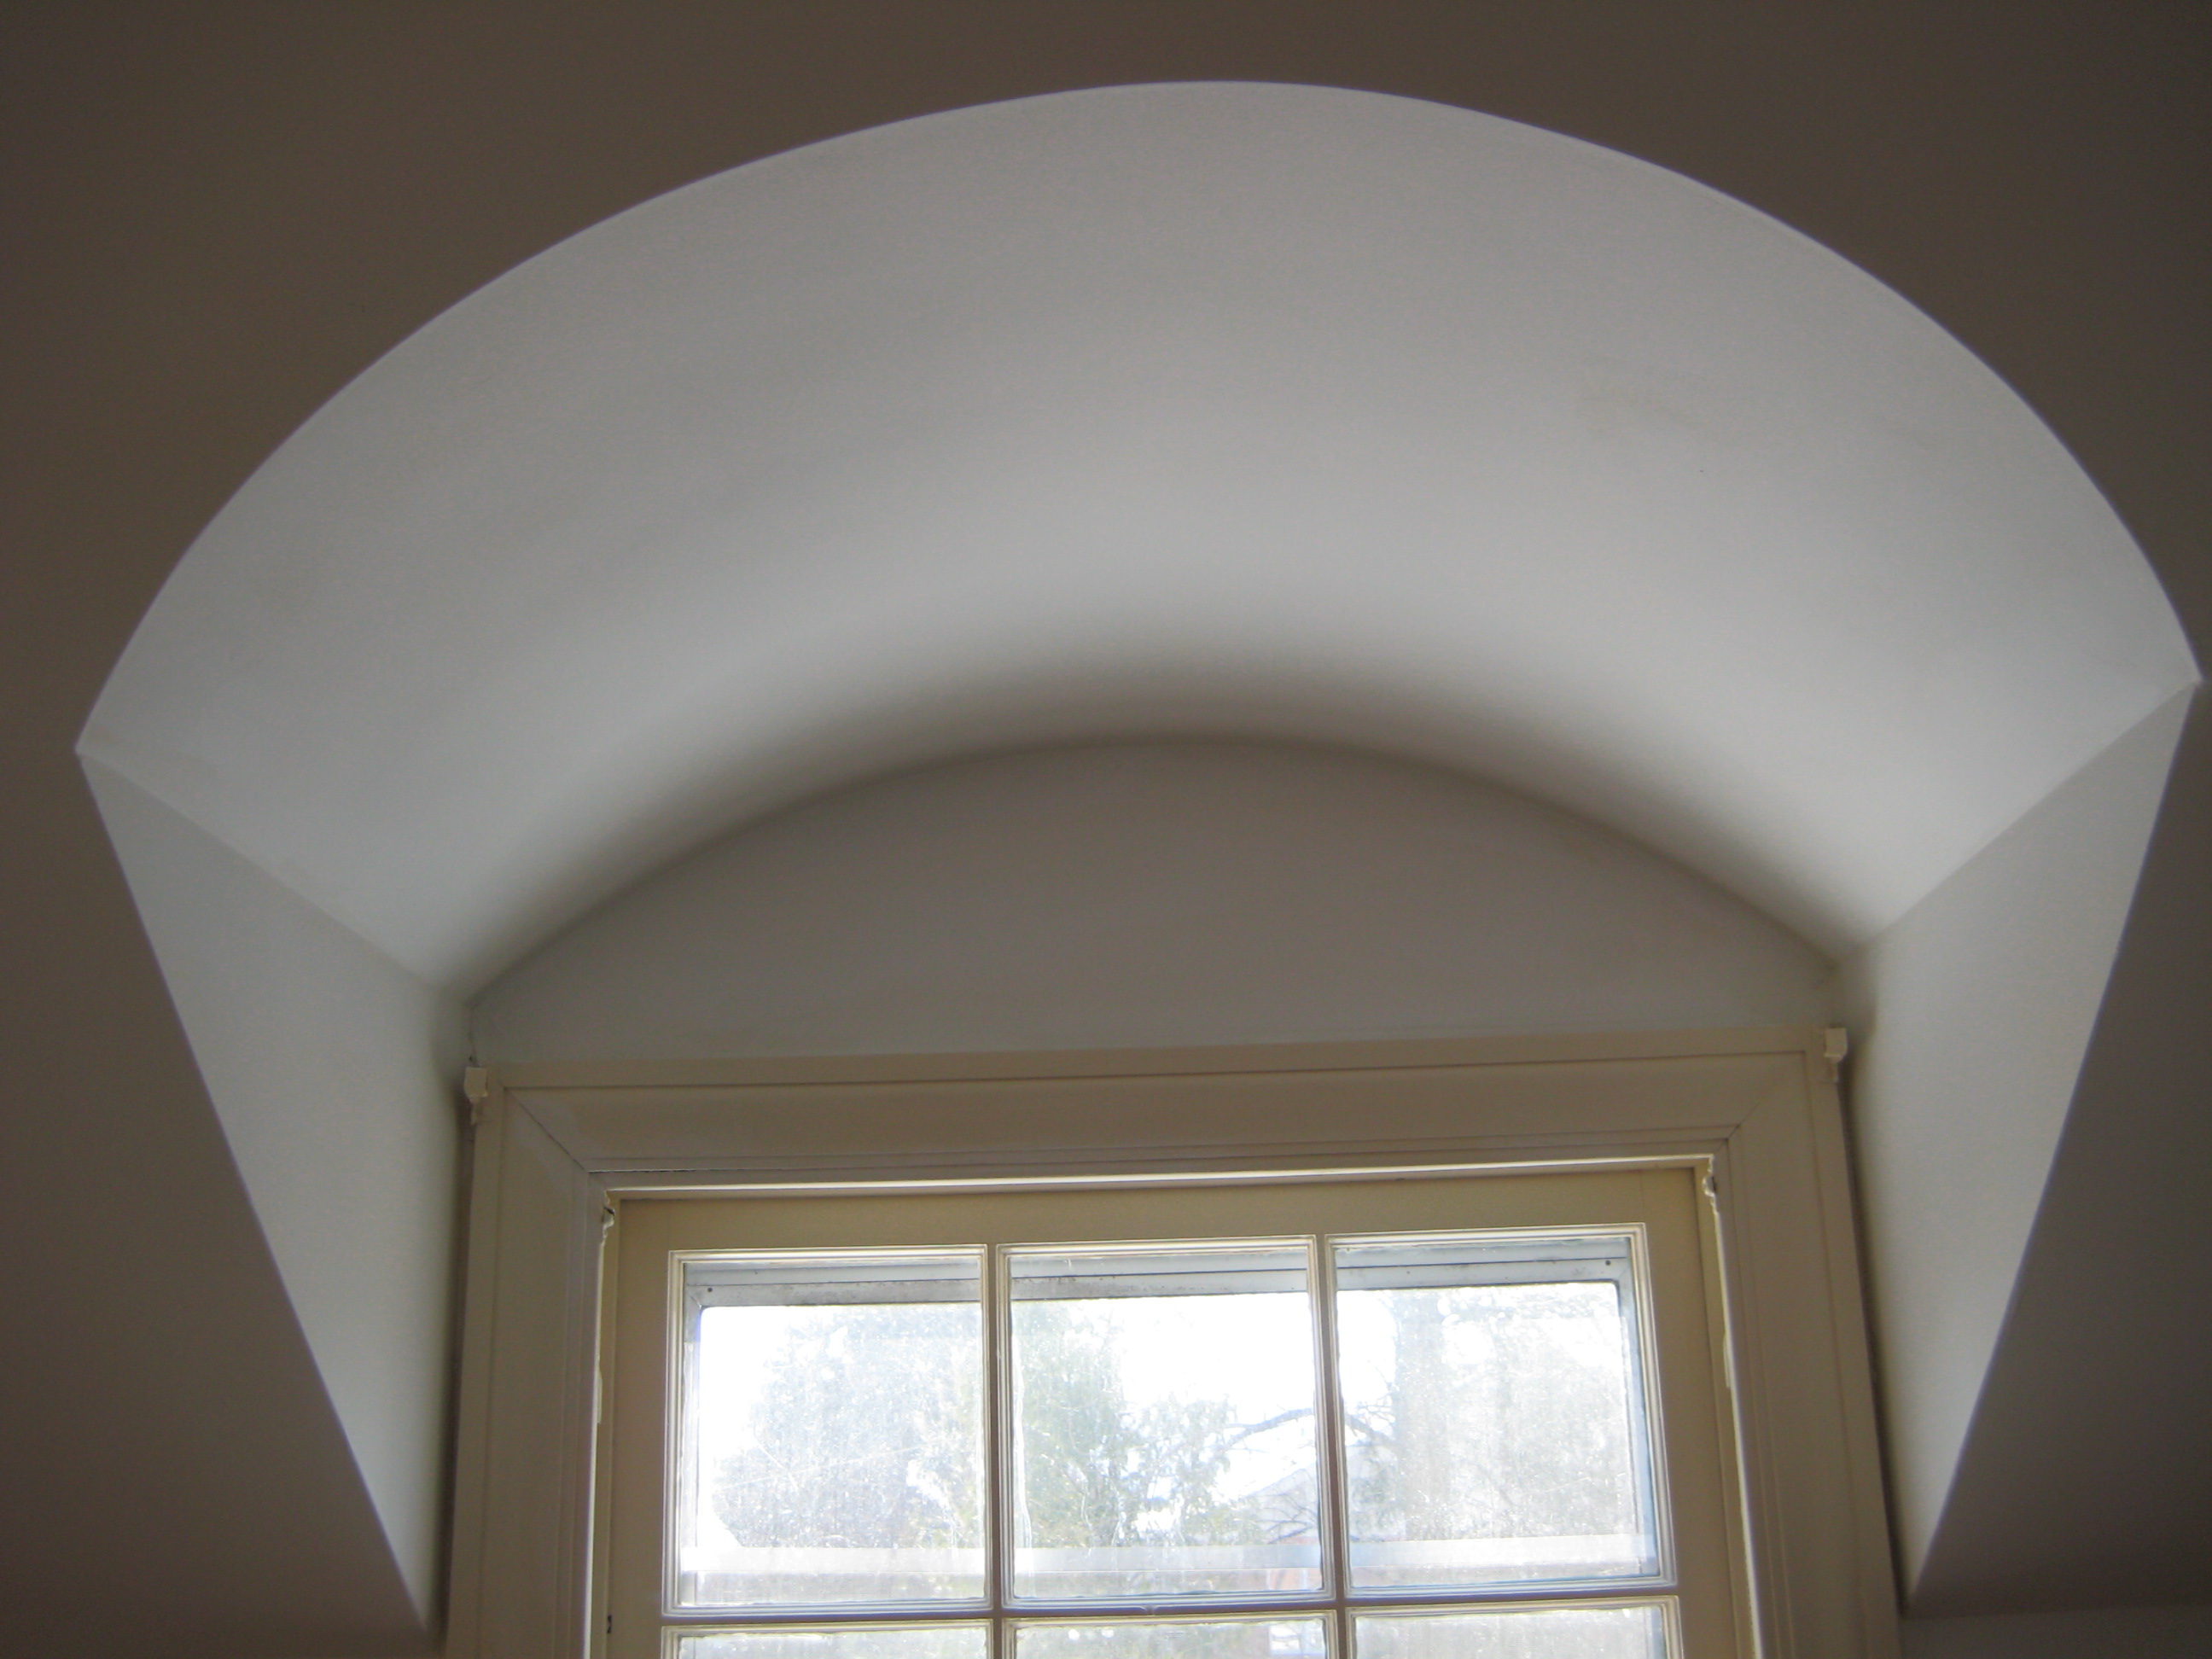
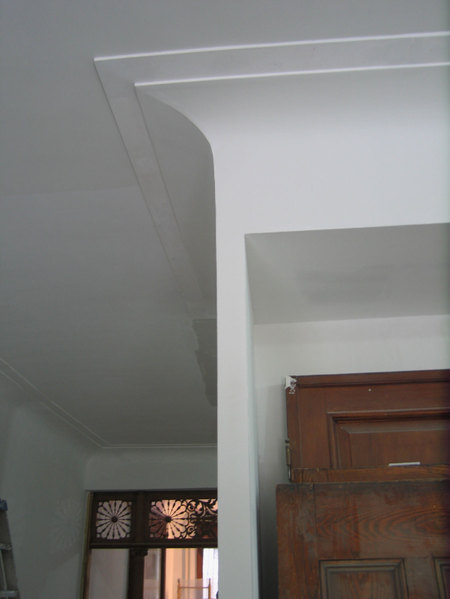
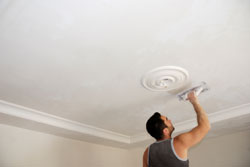
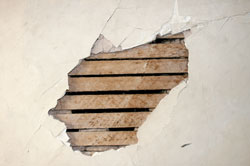
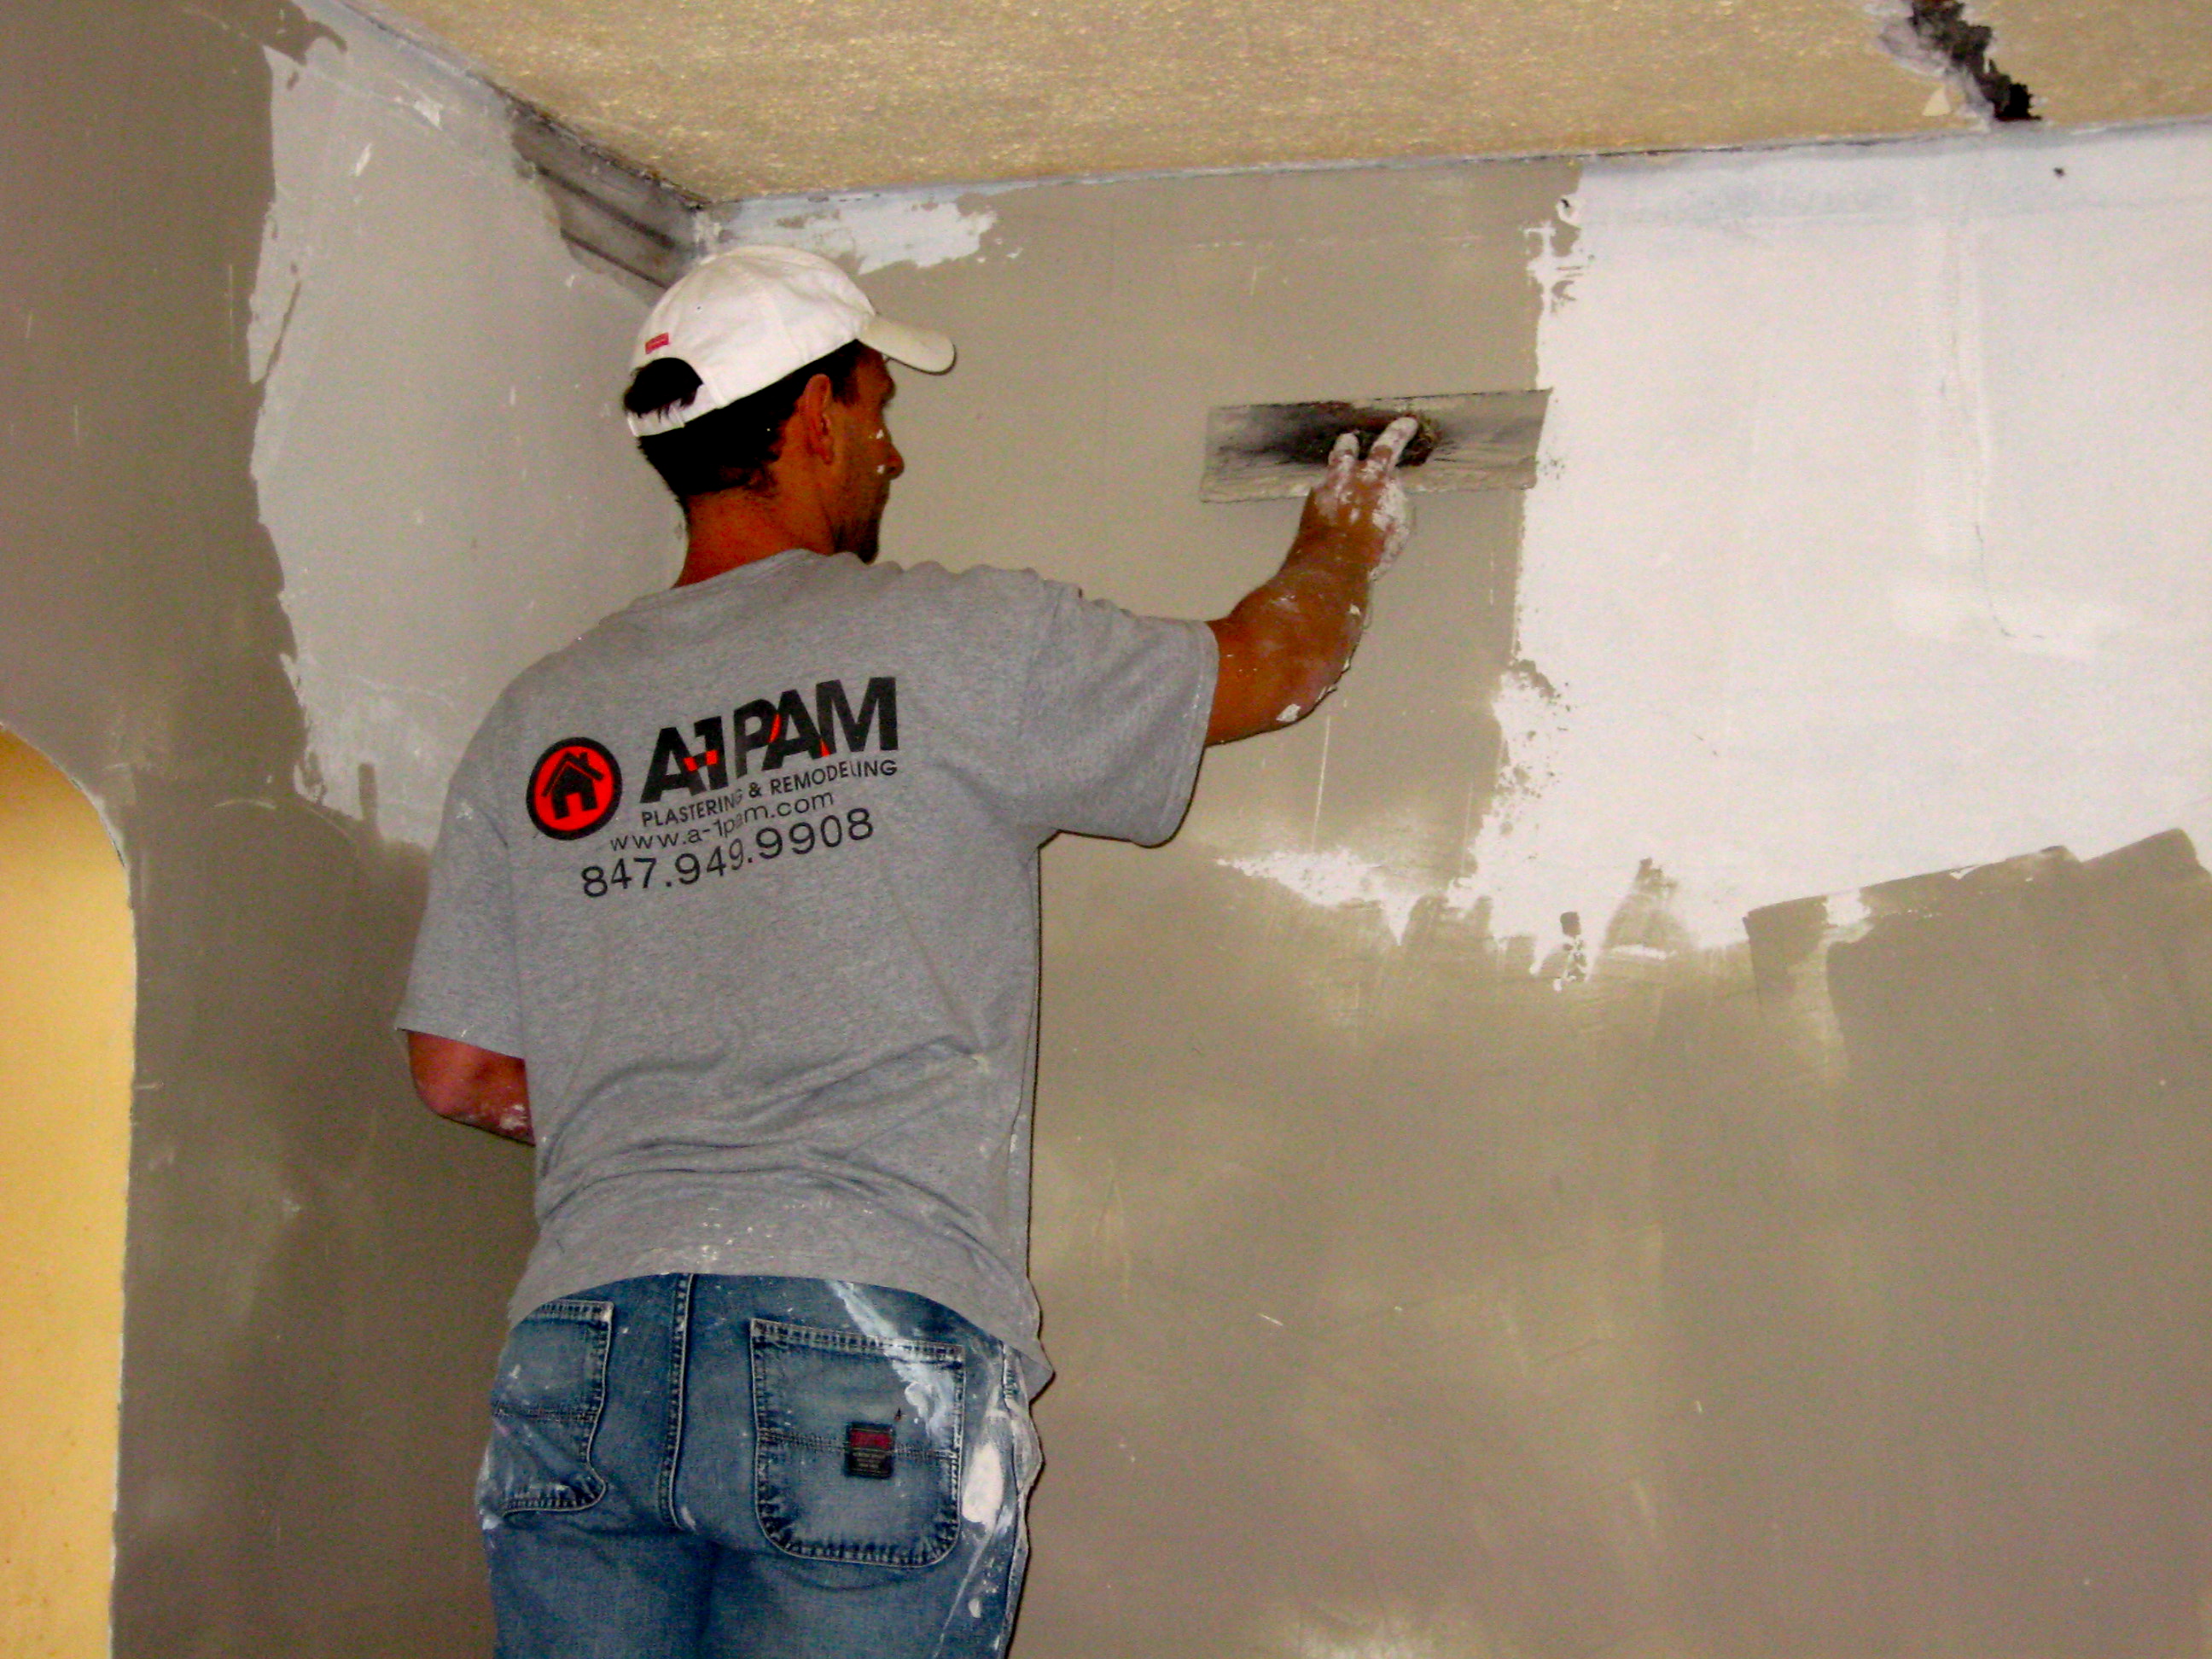
Skim coating involves applying a thin coat of specially smoothed plaster over a large area in a room. To ensure that skim coating is done right, it must be done with the proper technique. We apply a fiberglass mesh prior to skim coating to prevent walls and ceilings from cracking. Only a skilled professional craftsmen can ensure that your skim coating is done right so that it will last for many years.
Once the plastering is completed, just the right amount of sanding gives walls and ceilings a pristine shape and texture. At A-1 PAM, we know what it takes to do the job right and take the time to make sure that our high standards for quality are met. Whether you are preparing a room for wallpaper or desire the smooth texture of a skim coat plastered wall – at A-1 PAM, we have the expertise to ensure it is done right!